
Installing asphalt shingle roofing provides robust, weather-resistant protection that not only boosts your home’s curb appeal but also improves energy efficiency. Understanding the process, from the right tools to proper maintenance, gives homeowners confidence and helps save money. This guide covers: shingle roofers.
Whether you’re planning a DIY project or enlisting professionals like Boselli Construction in Palm Coast, FL, these proven tips will help ensure a watertight, long-lasting roof.
Choosing the right components and supplies is the bedrock of a dependable installation. You’ll need quality shingles, underlayment, drip edge, and fasteners, along with tools like nail guns and ridge cutters. Making the right selections prevents common errors, optimizes your workflow, and ensures uniform protection and a seamless finish.
Architectural shingles, three-tab shingles, and designer laminates each offer a unique blend of affordability, resilience, and visual appeal. Homeowners typically select based on factors like wind resistance, warranty duration, and desired texture.
| Shingle Type | Key Feature | Primary Benefit |
|---|---|---|
| Three-Tab | Simple, single-layer design | Budget-friendly and lightweight |
| Architectural | Multi-layered, dimensional profile | Superior wind resistance and visual depth |
| Designer Laminates | Unique shapes and color palettes | Premium aesthetic and UV defense |
Architectural shingles often strike the ideal balance between longevity and style, setting the stage for selecting complementary tools and materials.
A long-term experimental program by the National Research Council of Canada evaluated the performance of fiberglass shingles under different aging processes. The study found that field-aged shingles displayed a maximum reduction of over 50% in tear strength, with many evaluated properties no longer meeting minimum North American standards after aging.
This research directly supports the article’s emphasis on durable materials and the impact of aging on asphalt shingle performance and longevity.
A quick rundown of essential tools will help you prepare your worksite:
These tools streamline every task, from tear-off to the final touches, allowing you to move smoothly through underlayment and drip edge installation.
Underlayment and drip edge are crucial for preventing moisture intrusion, with various options suited for different climates and roof slopes. Carefully evaluating material properties ensures robust protection at critical points.
| Underlayment Option | Material Composition | Installation Advantage |
|---|---|---|
| Asphalt-saturated felt | Fiberglass-reinforced | Cost-effective moisture barrier |
| Synthetic underlayment | Polypropylene | Excellent tear resistance and UV stability |
| Ice-water shield (self-adhesive) | Rubberized asphalt | Superior leak prevention along eaves |
Synthetic underlayment and ice-water shields offer a combination of strength and adhesion, creating a moisture-resistant foundation that transitions seamlessly into deck preparation.
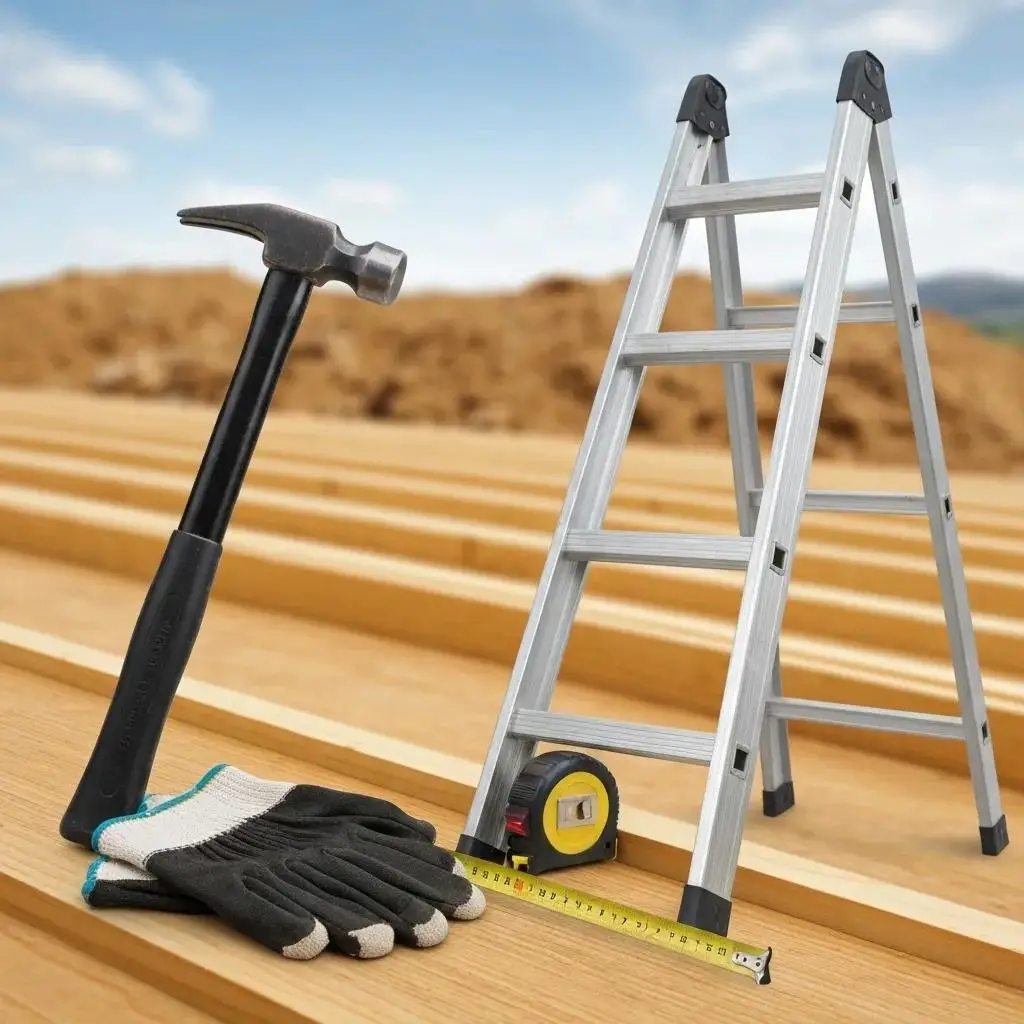
Proper deck preparation is key to a secure base for your shingles and underlayment. Inspecting for and repairing any damaged boards prevents future leaks, while thorough cleaning removes debris that could hinder adhesion and lead to premature wear.
Your inspection should focus on identifying rot, warping, and loose boards. The repair process typically involves:
Addressing structural issues promptly prevents uneven shingle courses and maintains the integrity of your moisture barrier.
Cleaning the deck removes leaves, old nails, and residue that can compromise the underlayment’s ability to adhere properly. A clean surface ensures full contact between layers, minimizing wrinkles and air pockets. This meticulous cleaning improves shingle alignment and enhances long-term performance against wind uplift.
Following a systematic process from the roof’s edge to the ridge ensures consistent coverage and reliable leak protection. Start with starter shingles and work your way up through the field courses, paying close attention to nailing patterns and cut details for maximum weather resistance.
Starter shingles should extend about ¼ inch beyond the drip edge and sit flush with the roof’s edge. Secure each starter strip with four nails. Then, position the first course of field shingles so their tabs overlap the starter tabs by approximately 5/8 inch. Correct alignment here establishes a straight foundation for all subsequent rows.
Precise nailing is essential for wind resistance and to comply with warranty requirements:
Consistent fastener placement strengthens the entire roof system against wind uplift and potential leaks.
Accurate cuts and properly integrated flashing are crucial for preventing leaks around penetrations:
Meticulous detailing around obstacles ensures the integrity of the moisture barrier across these critical transition points.
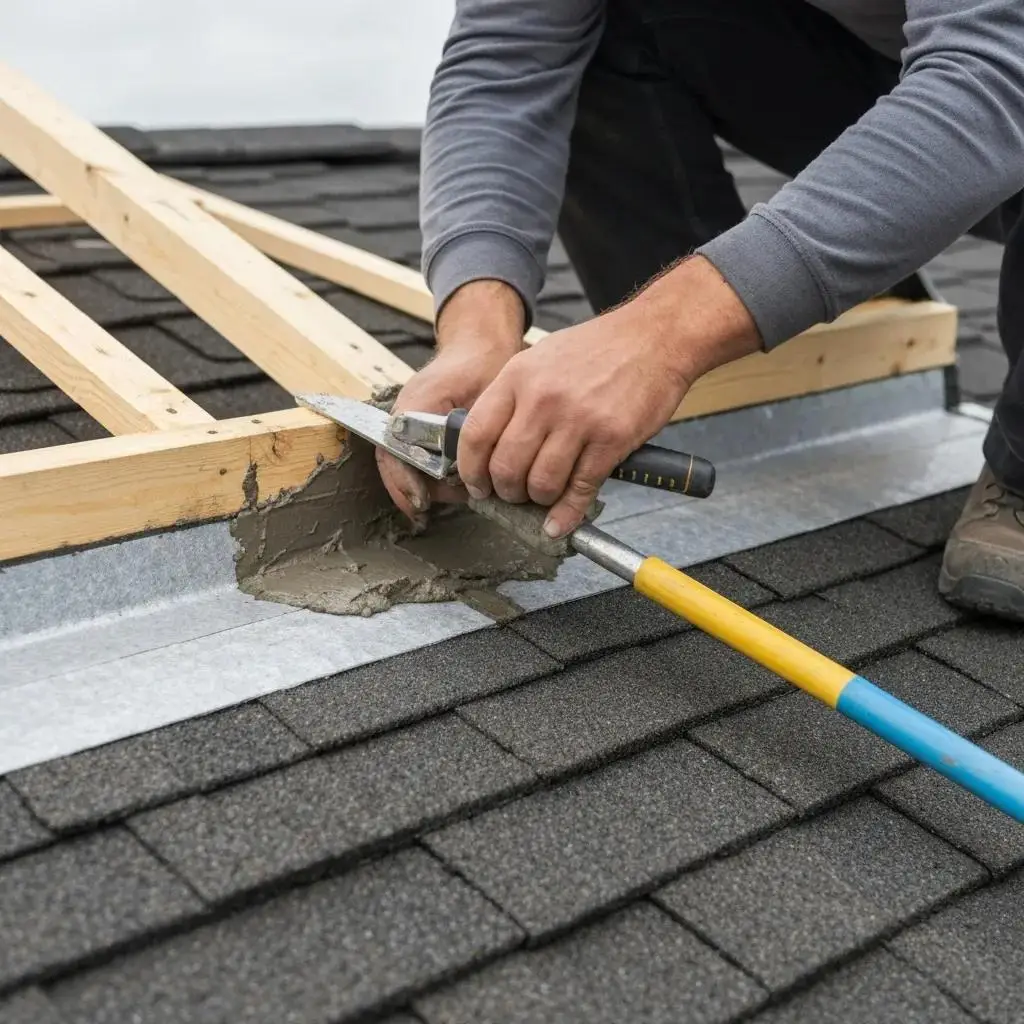
Correctly installed flashing and ventilation are vital for preventing water intrusion and promoting healthy attic airflow. This not only extends the life of your shingles but also protects your home’s structure from heat and moisture damage.
Effective flashing installation involves these key steps:
This layered approach effectively directs water away from vulnerable junctions, maintaining a continuous protective barrier.
An efficient ventilation system plays a critical role in regulating attic temperature and managing moisture:
Research indicates that inadequate attic ventilation can significantly reduce the service life of asphalt shingles. Studies and contractor polls suggest a reduction ranging from 10% to over 20% due to heat buildup and moisture, leading to premature aging, granule loss, and blistering.
This research directly supports the article’s section on how proper roof ventilation extends shingle lifespan by controlling attic temperature and moisture.
Maintaining consistent airflow safeguards shingle adhesion and structural integrity, ensuring your roof performs well under various weather conditions.
Steering clear of frequent errors will significantly enhance your roof’s resilience. Common pitfalls include improper nailing, wrinkles in the underlayment, and overlooked flashing details, all of which can compromise performance.
Common mistakes that frequently impact asphalt shingle roofs include:
Frequent installation errors, such as improper nailing techniques (e.g., overdriven, underdriven, or incorrect quantity/placement), inadequate flashing installation at vulnerable points like valleys and chimneys, and neglecting starter courses, are identified as primary causes of premature roof failure and leaks.
This information directly supports the article’s section on common installation mistakes homeowners should avoid, particularly concerning nailing and flashing best practices.
Implementing a proactive maintenance plan is essential and should include:
Regular upkeep is crucial for maintaining warranty coverage and extending your roof’s service life.
Warranties often stipulate the use of manufacturer-approved fasteners, specific nailing patterns, and accessory materials. Adhering to guidelines for shingle style, underlayment type, and ventilation is vital to avoid voiding coverage and to secure long-term performance guarantees.
Asphalt shingle roofing installation offers a resilient and cost-effective way to protect your residential property. By carefully selecting materials, preparing the roof deck, following precise installation steps, ensuring reliable flashing and ventilation, and avoiding common mistakes, homeowners can achieve lasting performance. For expert assistance or comprehensive installation services, reach out to the roofing specialists at Boselli Construction in Ventnor, NJ, to ensure professional quality and complete peace of mind.
At Boselli Construction, we have been installing roofs in the Ventnor are for over 75 years and 3 generations.